Crown Molding & Baseboard Trim
Molding, also referred to as trim, can be installed around windows, doors, entryways, on railings, and around mantels and fireplaces. In home improvement and construction, molding is used to cover transitions between surfaces or for decoration. A strip of material (usually wood) with various cross sections, molding is traditionally installed by a carpenter, though molding installation can be a great project for seasoned DIYers.
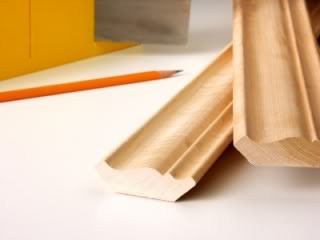
Common Types of Molding
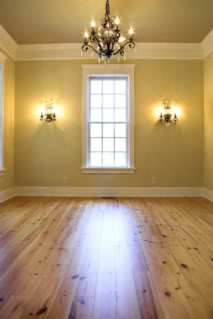
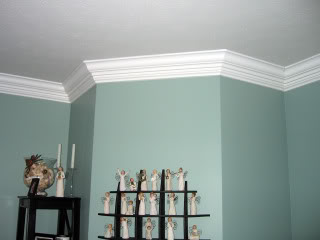
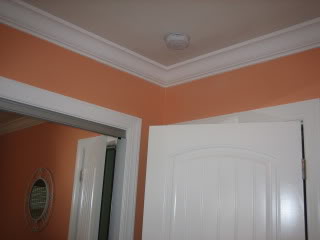
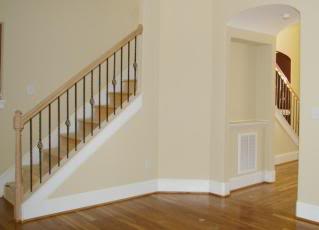
Crown Moldings are used to separate the ceiling from the wall and create gorgeous transitions between the two.
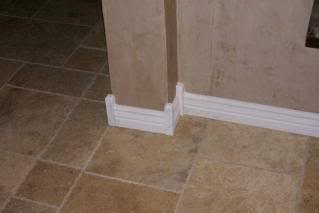
Baseboard Moldings are often used as a way to conceal the gap between the wall and the floor as well as to protect the wall.
Molding Benefits:
- Available in a wide range of thicknesses, heights, colors, and details
- Adds character to a room
- Covers wall imperfections
- Protects the lower wall near the floor from wear and tear
- Covers drywall joints
- Helps prevent drafts, moisture, insects, and wood expansion/contraction problems
- Increases home value due to the attractive, cared-for look
- Creates a stylish transition from the different materials used on the walls in a room such as paint and wallpaper
- Can make a tall room look more proportional
- Hides wires or speakers that are installed at ceiling level
Easy DIY Molding Installation
Crown molding is easy to install, and if you do it yourself costs about $150 for a 10' x 10' room. Supplies you will need include:
- Miter box and saw (power miter saws can be rented)
- Tape measure
- Putty knives
- Sanding block
- Hammer
- Finishing nails
- Angled 3" paintbrush
- Joint compound
- Construction adhesive
- Caulk gun for adhesive, if needed
- Sponge or paper towels
- Fine sandpaper
- Measure the room or exterior space and buy the molding.
- Begin installing from an inside corner and work outward.
- Measure twice and then cut the pieces.
- If needed, sand, prime, and paint each piece.
- Apply adhesive according to manufacturer's directions.
- Press molding against adhesive and fix in place with finishing nails. Note: Install molding to look parallel with doors, windows and any other trim rather than according to the level or plumb line.
- Fill gaps above the molding and at seams with compound.
- Sand, prime, and paint the dried compound and fill any nail holes.
A weekend spent adding trim to your exterior and/or interior spaces can boost your home's curb appeal. For very little time and money, molding will distinguish your property from the competition, helping it sell faster and for more money.
Crown Molding Images


Baseboard Molding Images
Updated August 16, 2018.


Looking for a Pro? Call us (866) 441-6648

Carpentry Average Costs
Carpenters Experiences
Deck Repair On A Deadline
Concrete Patio Is The Finishing Touch For An Artist's Studio