DIY Recycled Door Coffee Table
 I'm almost certain you can teach an old door new tricks, and Hometalk users have pretty well proved it with their wide assortment of reclaimed door projects large and small. One of my favorites right now, though, is the humble coffee table, because it's such a great, but simple, use of a door in interior design and decor.
How hard can it be? I took a look around to do some preliminary research and discovered that it's pretty darn easy, even for ham-isted people like me. Presenting our easy DIY carpentry tutorial on how to make a door into a table!
Step One: Assemble Materials
You're going to need an old door (shocking, I know). Choose a five-paneled solid door: three of the panels are going to face upward to form the surface, while the other two are going to make up the legs of the table. Pay attention to panel shape and size; you want to avoid cutting through a panel to make the table, since that wouldn’t look very attractive.
Avoid hollow-core doors, which are NOT a good choice for this project!
For supplies, a table saw helps (you can use a circular or other saw type, but it's more difficult), along with drill, screws, wood glue, straight edge, marking pencil, measuring tape, and -- if you want the table to be easily movable -- casters.
Step Two: Cutting
Please wear face and hearing protection while using power tools! With the measuring tape and straight edge, mark out two even cutting lines so you'll have two stable legs of the same height. Cut, then sand the edges smooth to avoid injury before the next stage.
Step Three: Attachment
You can simply screw down through the top of the table and into the legs, but then you'll have screw holes to deal with. That won't be a problem if you're painting, because you can putty, sand, and paint over them.
But if you want to keep the original paint job, you need to be more crafty. Enter the pocket screw hole. It’s made with a specialized tool called a kreg jig, where you drill into the side of the leg to create holes that fasteners can be run through from underneath. The screws will go up and into the top, and the wood glue you dab along the sides before attaching will help keep them reinforced.
Add brackets for extra strength, if you want. Choose decorative brackets if you want something that stands out, like cast iron.
Step Four: Casters (Optional)
If you want your table to be movable, add your casters.
Otherwise, you're ready to go! You can finish the table however you desire (maybe you have a Portland painting project in mind?), add a shelf if you choose, and get going with the fun step of adding it to your decor.
And that's how to make a door into a table. Easy-peasy, no?
Katie Marks writes for Networx.com.
Updated November 1, 2018.


Looking for a Pro? Call us (866) 441-6648

Remodeling Average Costs
Remodeling Contractors Experiences

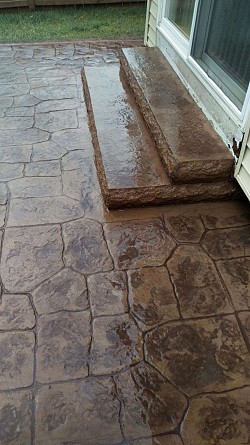
We Finally Extended Our Concrete Patio And Our Yard Looks Amazing
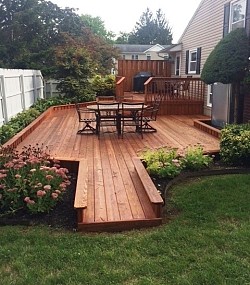
Professional Stain Adds The Finishing Touch To My New Cedar Deck