Why is Paint Peeling Off My Walls and What Can I Do?
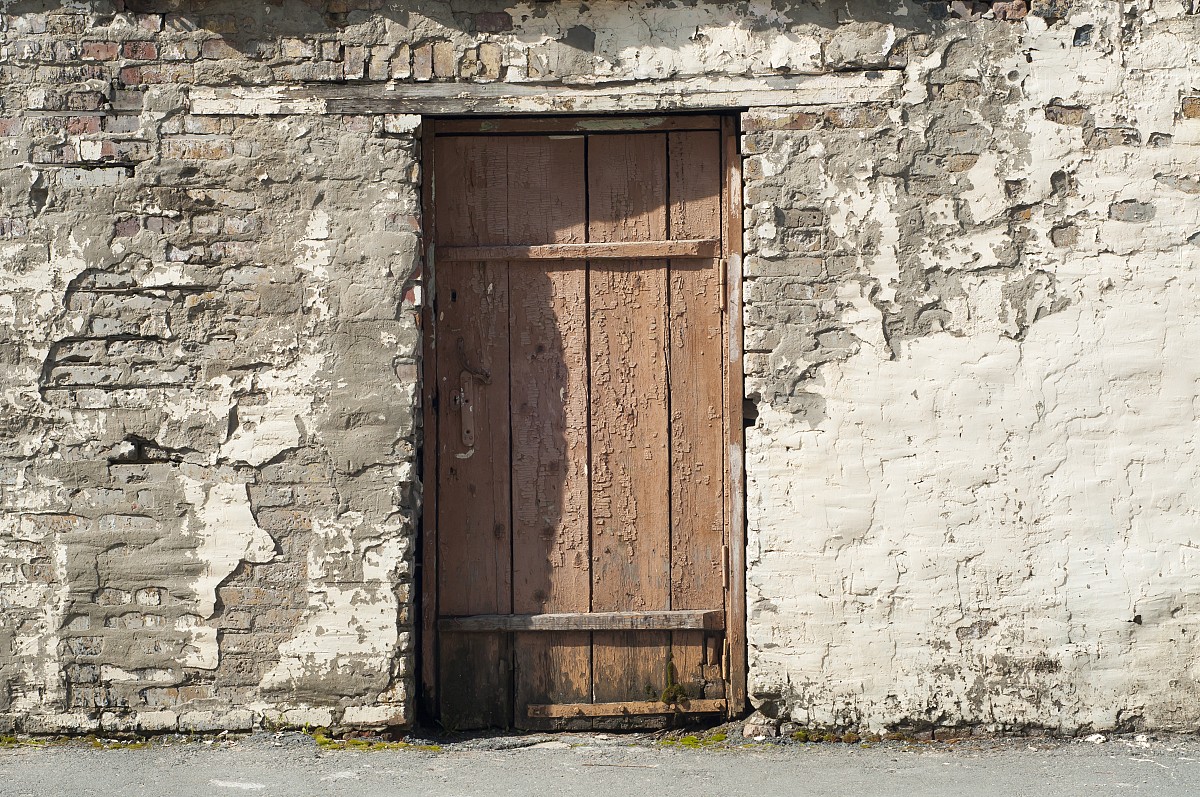
Have you ever seen a wall with the paint peeling off? The blistering, curling paint, the nasty tangle of cracks, the flakes littering the floor - it isn't pretty, that's for sure. If you're dealing with paint peeling off one of your walls, you know exactly what I'm talking about. You can call a professional painter to fix the problem if you want -- painting is more tedious than it looks. Or you can save some money and spend a few hours doing it yourself. I'm not gonna lie to you; painting is hard work. But it's also incredibly fulfilling and worth the effort.
What causes paint to peel?
In order to repair the wall effectively, you need to know what causes paint to peel in the first place. There are quite a few causes -- for instance, the wall wasn't properly cleaned before the paint was applied, primer wasn't used, or the wrong type of paint was used. But the most common reason for peeling paint is moisture. (This probably isn't so surprising to you -- it seems as if the root of most household issues is moisture.) This doesn't necessarily mean you have a plumbing issue or a leaking roof -- too much humidity can also be the culprit. If you do have a plumbing problem or a roof leak, make getting those repaired your top priority...there's nothing quite as devastating to your home and wallet as extensive water damage.
How to fix the wall
Now it's time to get to work! Without getting too technical, here's what you'll need to do:
- Prep the room first. Spread tarp, paper, or cloth across the floor. Use masking tape on window and door frames and along the baseboard at the bottom of the wall. This will protect these areas from any debris or wayward paint.
- Use a paint scraper (pictured) and a wire brush to remove as
 much of the old paint as possible.
 - Inspect the wall for any holes or cracks and use a putty knife (it looks like a paint scraper, except a paint scraper has a sharpened, knife-like edge) to fill them in with some patching compound.
- Using sandpaper, make sure the entire wall is nice and smooth, then thoroughly clean the entire surface of the wall with a damp sponge or tack cloth. Let the wall dry completely before moving on to the next step.
- Apply primer. Primer is really important. It helps the paint adhere to the wall better and last longer. Primer will also prevent any future moisture issues. Use a paintbrush for the tight spots (e.g., in corners and near window and door frames) and a paint roller for the rest of the wall. Wait until the primer is dry -- the label should say how long it takes.
- Start to paint. Use the same technique for the painting as you did when you applied the primer. After the paint dries, apply another coat. Most experts will tell you it's not necessary, but your paint will last longer and your wall will look better if you do. Once everything is dry, remove the masking tape.
- Finally (and most importantly), go relax. You earned it!
PAINT & PRIMER TIP: There's lots of information on what type of primer and paint to use on which areas and whether you can use oil-based primer if you'll be using latex-based paint. Most experts will tell you it's okay to use latex-based paint on top of oil-based primer. For walls more susceptible to moisture, like your bathroom walls, oil-based primer is recommended. However, there are plenty of latex-based options when it comes to primer as well. Your best bet for choosing the best primer and paint for your needs is to see what the professional at your local home-improvement center has to say.
Updated March 20, 2018.


Looking for a Pro? Call us (866) 441-6648

Painting Average Costs
Painters Experiences
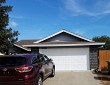
Exterior House Painting Completely Changed The Look Of My Home
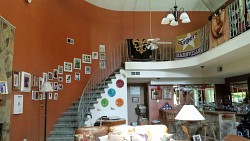
Painting Our Great Room With A 23-Foot Ceiling