Kitchen Cabinet Installation How To
 QUESTION: Which upgrade makes the greatest difference to your kitchen’s look? ANSWER: New kitchen cabinets give the whole room a visual facelift.
And the choice is yours: hire professional installers or do it yourself, if you’re an experienced home carpenter. Whichever route you go, cabinet installation “how to” starts with effective measurement and prep.

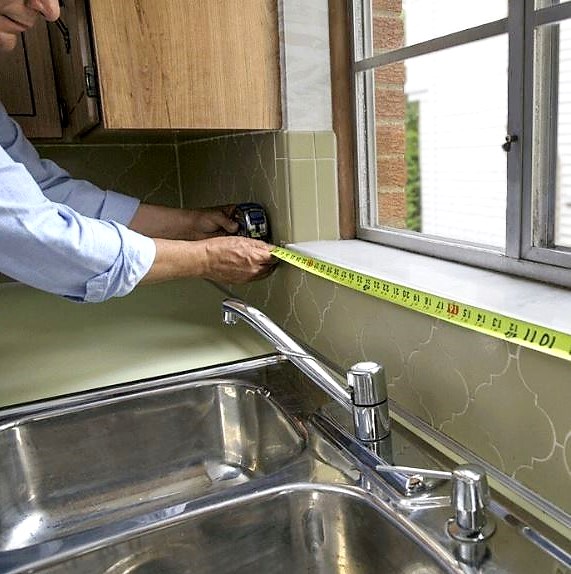
Kitchen cabinet installation: how to measure
- Choose a high precision tape measure or laser measuring tool.
- Sketch a simple DIY blueprint to stay organized and tackle your installation like a pro.
- Measure kitchen walls, doors, and windows to outside of the molding.
- Take these measurements: from floor to windows, bottom to top of windows, and top of windows to ceiling.
- Note light fixture placement.
- Detail any plumbing, gas, and electric lines on your drawing.
- Sketch in the location and measurements of the cabinets you’re about to install.
Demolition in 7 steps
For upper cabinet removal, enlist a helper. A second pair of hands is important when hefting heavy upper cabinets, especially when working from a ladder.
Step 1: Turn off electricity, gas, and water to the kitchen.
Step 2: Remove drawers and doors from old cabinets.
Step 3: Disconnect and remove appliances.
Step 4: Carefully cut out sink sealant. Disconnect plumbing, loosen bracket screws, and lift out the sink.
Step 5: To remove countertops, cut the sealant or caulk along your backsplash and remove corner bolts and screws from underneath. Lightly shake countertops to pop them loose for easy removal.
Step 6: Take down any molding and toe kicks from existing cabinetry.
Step 7: Remove screws in cabinetry’s face frames and unscrew backs from the wall to successfully pull everything out.

Kitchen cabinet installation prep work
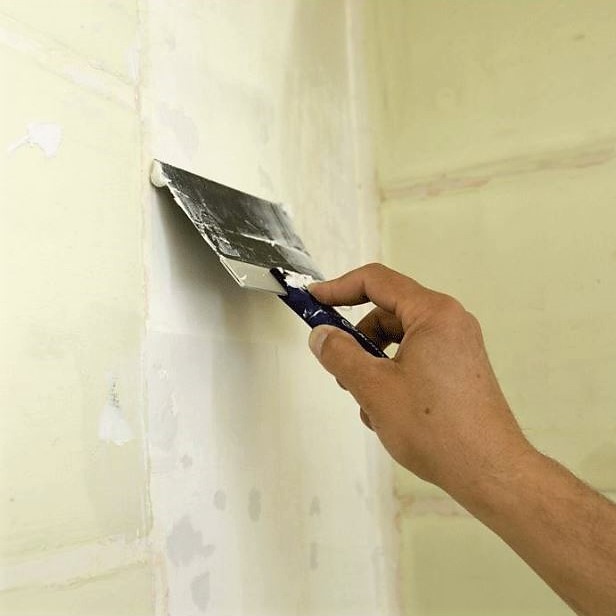
Repair walls after removing old cabinets. Patch and smooth holes with a putty knife and spackle. Consider applying 1 or 2 fresh coats of paint to the repaired area.
Mark depth of the cabinet bases on the floor. Use a level to find the highest spot on the floor and mark cabinet height at this spot.
For upper cabinet installation, use a Zircon Stud Finder and mark studs inside the lines. Mark the layout of your cabinets, as well as appliances, on your walls.
Pro tips for upper cabinet installation
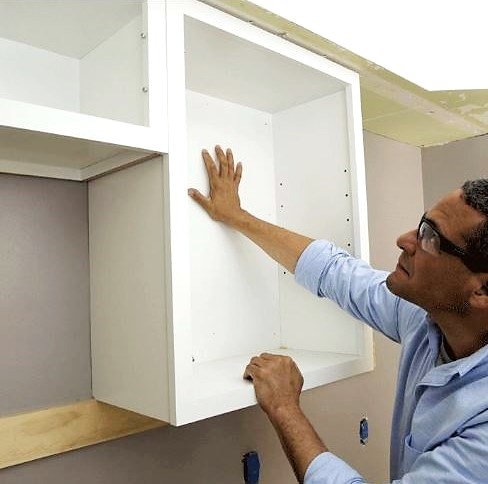
- Install a ledger board prior to kitchen cabinet installation. This will serve as a temporary shelf to hold the cabinet’s weight while you’re securing it. Mark a line where the cabinet bottom will be on the wall. Then secure a straight 2x4 level against the wall, directly under -- but touching -- the marks. Screw the 2x4 in place near the ends and in the center. After installing cabinets, remove the ledger. Putty and sand screw holes.
- Install upper cabinets first. It’s easier to mount upper units before base cabinets – you’ll have more space around your feet to navigate as you install.
- Remove the doors. If your cabinets are already assembled, remove their doors for easier handling as you install.
- Check for bowed walls. Severely bowed walls may lead to cracks and serious foundation damage. If you’re concerned about your walls’ stability, contact a pro to provide a consultation. If your wall is slightly bowed (1/2” or so), glue shims over the stud lines where you’ll secure the mounting screws – this prevents cabinet backs from bowing when you drive in the screws.

Pro Tips for Base Cabinet Installation
- Install new flooring before cabinets. Planning a new floor as part of your kitchen upgrade? Now's the best time to install it. Your replacement flooring will need to run under the cabinetry. One exception: Floating floors should be installed after cabinetry, but raise the base cabinets to a height just above the flooring. This avoids later problems installing appliances.
- Keep the screws loose. As you progress, keep the screws loose. This simple step will allow you to realign the cabinets as you go. You can easily go back and retighten the screws later.
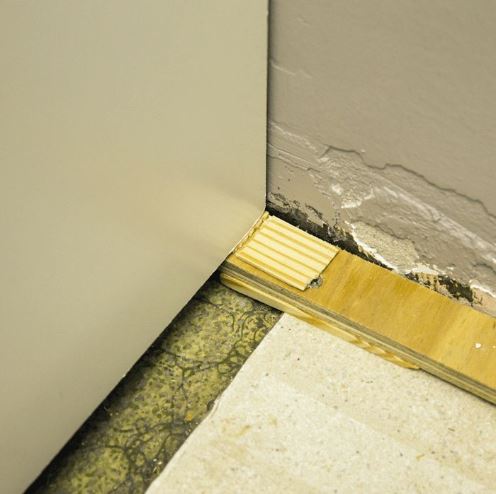
- Shim for accuracy. To even cabinet tops against the back wall, shim under the cabinet base against the wall.
Thanks to Lowe’s Project Expert, Hunter Macfarlane, for pro tips.
Laura Firszt writes for networx.com.
Looking for a Pro? Call us (866) 441-6648

Carpentry Average Costs
Carpenters Experiences

We Finally Extended Our Concrete Patio And Our Yard Looks Amazing

Toilet Replacement + Grab Rails = Access For Disabled Homeowner


