Residential Interior Painting Tips
If your house is starting to seem drab or out of style, you can brighten up an entire room with a few simple coats of paint! But before you rush off to the garage to scrimmage up a few old sheets and paintbrushes, you should take a few minutes to learn some helpful residential interior painting tips. A little extra know-how will help you achieve the professional paint look you’ve always wanted.
Choosing the Right Color
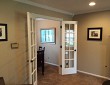
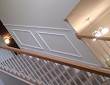
When choosing a new color for your interior house painting, you should look for a color that suits you and the room. It’s important to know that lighter paint colors tend to create the illusion of more space while darker colors make a space look smaller. You can also pick complementary colors and tones to highlight doors, windows and other trimmings.
Once you’ve chosen and purchased your colors, prepare the paint according to the manufacturer’s directions. Use a separate container to mix the paint outside of the original container. This will ensure that the paint gets mixed completely and is not concentrated in any part of the bucket. Finally, it’s always a good idea to write down and save the brand and color code of the paint you’re using so that you can match the color if you need to do a repair in the future.
Choosing the Finish
Next, you’ll have to choose from three different kinds of paint finish for your new color scheme. An eggshell finish has a slight sheen to it and is often used in areas that may get wet, like bathrooms and children’s rooms, because it is washable. The downside is that this kind of finish is hard to touch up; the sheen fades over time and then your touch-ups are shinier than older areas.
A semi-gloss paint finish creates an even shinier surface and is usually reserved for painting wooden furnishings, like doors, windows and shelves.
A flat paint finish is much like its name suggests – a flat, smooth finish that hides imperfections well. This kind of finish is cheaper than the other two and its ease of use makes it great for almost all DIY projects.
Using the Right Tools
In addition to a regular paint roller with extension pole, you might want to get a few specialty brushes. If you plan on painting woodwork and/or windows, you’ll want a 2-inch angular paintbrush. For edges and other areas that require extra control, a 2-inch trim brush will be useful. Narrow rollers can also be purchased to reach tight areas, such as behind the toilet tank or radiator.
Remember, high-quality brushes make your job easier to do because they hold more paint and the bristles don’t fall out easily. So, throw out your old, dirty paintbrushes and invest in a few quality brushes that will last and always get the job done well. And one final brush tip: Always brush out any loose hairs on your paintbrush before you wet it with paint.
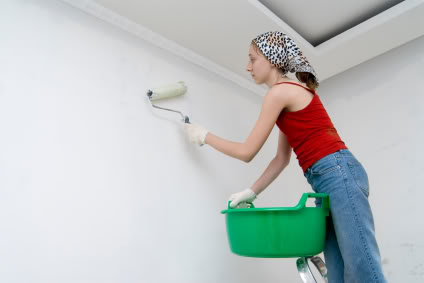
Now, armed with this basic residential interior painting knowledge, you can prepare your wall for a makeover. Wash your walls and dust them down to free them of any caked-on grime. Use two coats of spackling to fill any cracks or holes. Then, start painting from the top of the area you want to color and work your way down to the floor. Good luck!
Related Articles


Looking for a Pro? Call us (866) 441-6648

Painting Average Costs
Painters Experiences
Unique Painting, Molding And Framing Add Beauty To My Home

Interior Painting Of My New 1500-Square-Foot Dance Studio