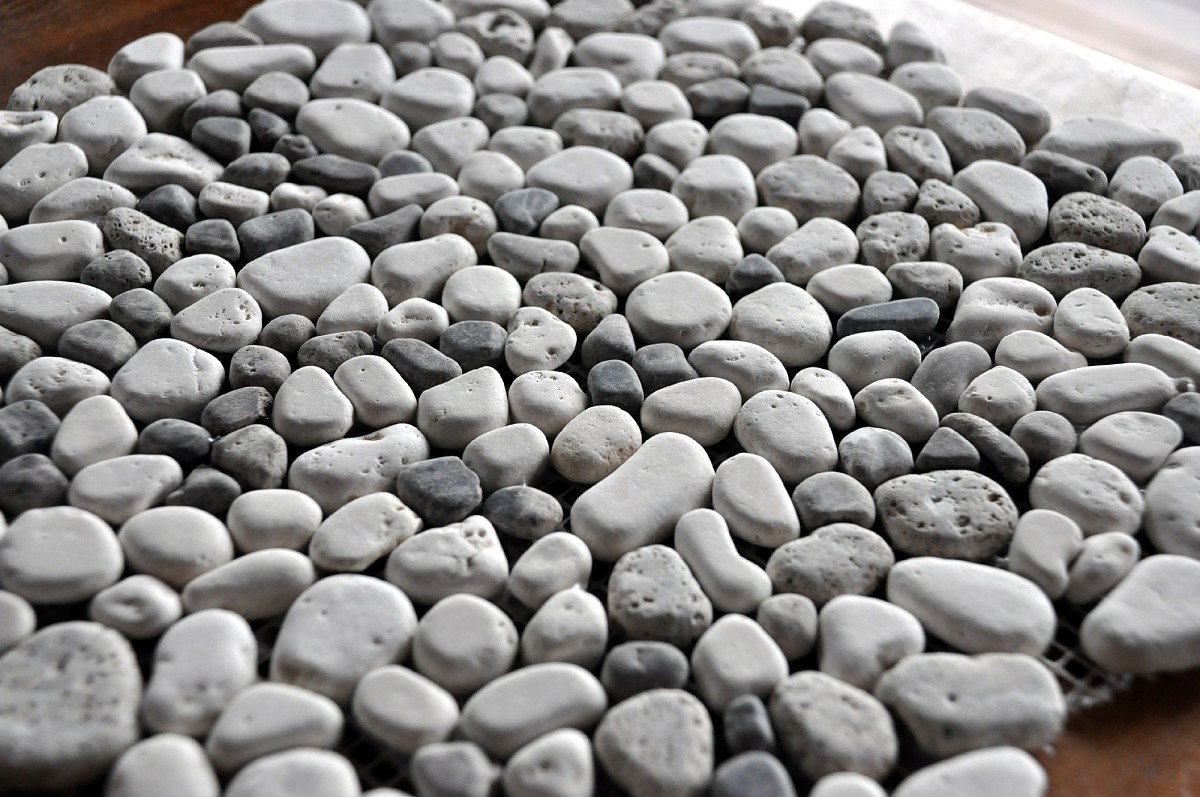
Pebble Tile Installation Tips
 Pebble tiles provide a unique look. Like most mosaics, they comprise many small pieces of rock, conveniently adhered to a mesh backing material. This makes installation possible without the mind-numbing process of setting a gazillion individual stones by hand. Most tile sheets are “keyed” so the installation interlocks from sheet to sheet, giving a nice uniform yet random look. Depending on your project, these tiles can usually be set without much need for actual tile cuts. The random patterns may be rotated and the sheet’s backer cut with a simple utility knife. Remove or place individual stones to customize the fit.
Thin set or mastic?
Because the pattern of pebbles is variable, I like to dry fit as much as possible before I begin the setting process. This is a time-consuming task and it is very difficult to rush.
The majority of pebble installs are on shower floors. Like more traditional mosaics, these mats can easily conform to a sloped or drain-pitched concrete bed or built-up drain pan. While the use of mastic is a fine adhesive for backsplashes and lower-moisture environments, the shower floor requires a really durable product like cement-based thinset.
Another reason I like to dry fit ahead of time is that thinset only has a fixed “pot life” and once it starts to become too stiff, the installation becomes more problematic. Rushing a pebble tile installation only leads to poor results. For pebble tiles to look and feel good (the rounded stone tops act as little foot massagers), the install depth needs to be just right. Size of the stones varies but most like to bed about 1/8” deep. If a small amount of thinset oozes up through the mesh backer, you'll get a great long-lasting and secure bond. If a lot oozes up, the thinset is competing with the “grout zone.”
Sanded grout is what you need
Sanded grout is used when grout lines exceed 1/8”. These pebble mosaics, by their very nature, have grout spaces that exceed that dimension a few times over. To maintain the desirable bumps of the pebbles, the grout needs to be applied at a depth that allows the stones to assert their personality.
When I grout for these parameters, I like to work in smaller areas so I can stay on top of the grout cleanup. Most grout cleanups are done pretty dry, with a grout sponge that is barely damp. When working with pebbles, a wetter sponge will allow you remove a bit more of the grout to maintain the profile of the stones' bumps.
Simply running a grout float over the stones and doing a quick wipe with the sponge would result in a pretty flat and smooth surface…but if you wanted flat, you should not have spent all that extra money on the pebbles.
For expert tile installation, find a professional tile contractor in your area.
Kevin Stevens writes for networx.com.
Updated March 27, 2018.
Looking for a Pro? Call us (866) 441-6648

Remodeling Contractors Experiences

Why I Chose Tile Floors After A Horrible Water Damage Experience

Floor Tile Replacement In Every Inch Of The House


