Non-Skid Paint
 Have you ever lost your footing on slippery ground? It’s not a pleasant experience. For many people it is simply embarrassing, but for others it can be dangerous. A bad fall can leave you with anything from a black and blue knee to a broken bone. If you want to avoid such accidents around your home, make your floors safer with a special coating of non-skid paint.
What is Non-Skid Paint?
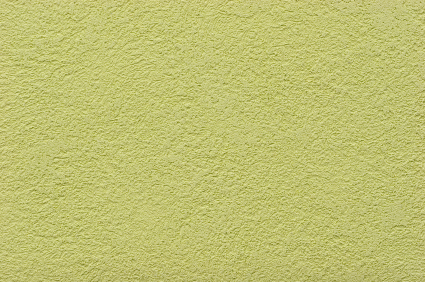
Non-skid paint is used to create very durable, slip-resistant surfaces in high-traffic areas. It comes in three different versions.
The easiest type of non-skid paint to apply is an aerosol spray that already has paint and synthetic grit combined. Simply spray on and it will leave a coating like that of diving board.
Another form of easy-to-use non-skid paint can be purchased premixed in one-gallon paint cans. Again, the paint color and synthetic grit are already blended and all you have to do is use a paintbrush or roller to apply.
The third kind of non-skid paint involves you adding the grit yourself. Buy 2-part paints that provide the grit additive for you, or sprinkle clean sand over a fresh coat of paint. If you want a professional sand additive, try Bondex or Shark Grip.
Where to Use Non-Skid Paint
Non-skid paint can be used on almost any surface, such as concrete, steel, wood, fiberglass or aluminum. Homeowners typically apply it to steps, sidewalks, ramps, showers, bathtubs, basement floors, ladders, diving boards, driveways, sundecks and pool decks. It is also a good idea to add non-skid paint around machinery and in areas of your home where water or other slippery conditions exist.
How to Prepare A Surface for Non-Skid Paint
As with any painting preparation, you should clean the surface you’re working with before you apply the paint. Be sure to clear the area of old loose paint, wax, oil, dirt, hair and anything else that has collected on the surface that you want to paint. If your surface was painted before, sweep it first before scrubbing with a bit of water and mild cleaner. Pat down the area with a towel or rag to make sure it is completely dry and pick a small test area to try out your non-skid paint.
How to Apply Non-Skid Paint
Use a piece of sandpaper to lightly etch your test area. Apply a small amount of paint and check to see it adheres properly according to the manufacturer’s directions. Once you have confirmation, gently sand the entire surface and apply the first coat of non-skid paint. Most of these paints take about an hour to dry, but double check the packaging to find out how long to wait before applying a second coat. Allow at least 24 hours after that for the paint to cure enough for people to start walking on your new non-skid surface. The rate of curing will depend on the humidity and temperature in your home, as well as the thickness of the paint.
Add another coat on top of your existing non-skid surface every 3-6 months depending on how worn down it gets. The preparation process is only slightly different when your surface already has non-skid paint on it. In addition to the regular cleaning instructions outlined above, it will be helpful to pressure-wash the area with a mixture of half bleach and half water. This helps ensure that the new non-skid coating will adhere completely, without leaving any bits of debris in between the two layers of paint.
Find a qualified painter in your area.
Updated August 29, 2018.


Looking for a Pro? Call us (866) 441-6648

Painting Average Costs
Painters Experiences

Neglecting A Leak Led To A Roof Replacement
Painting And Handyman Work On The Outside Of My House